
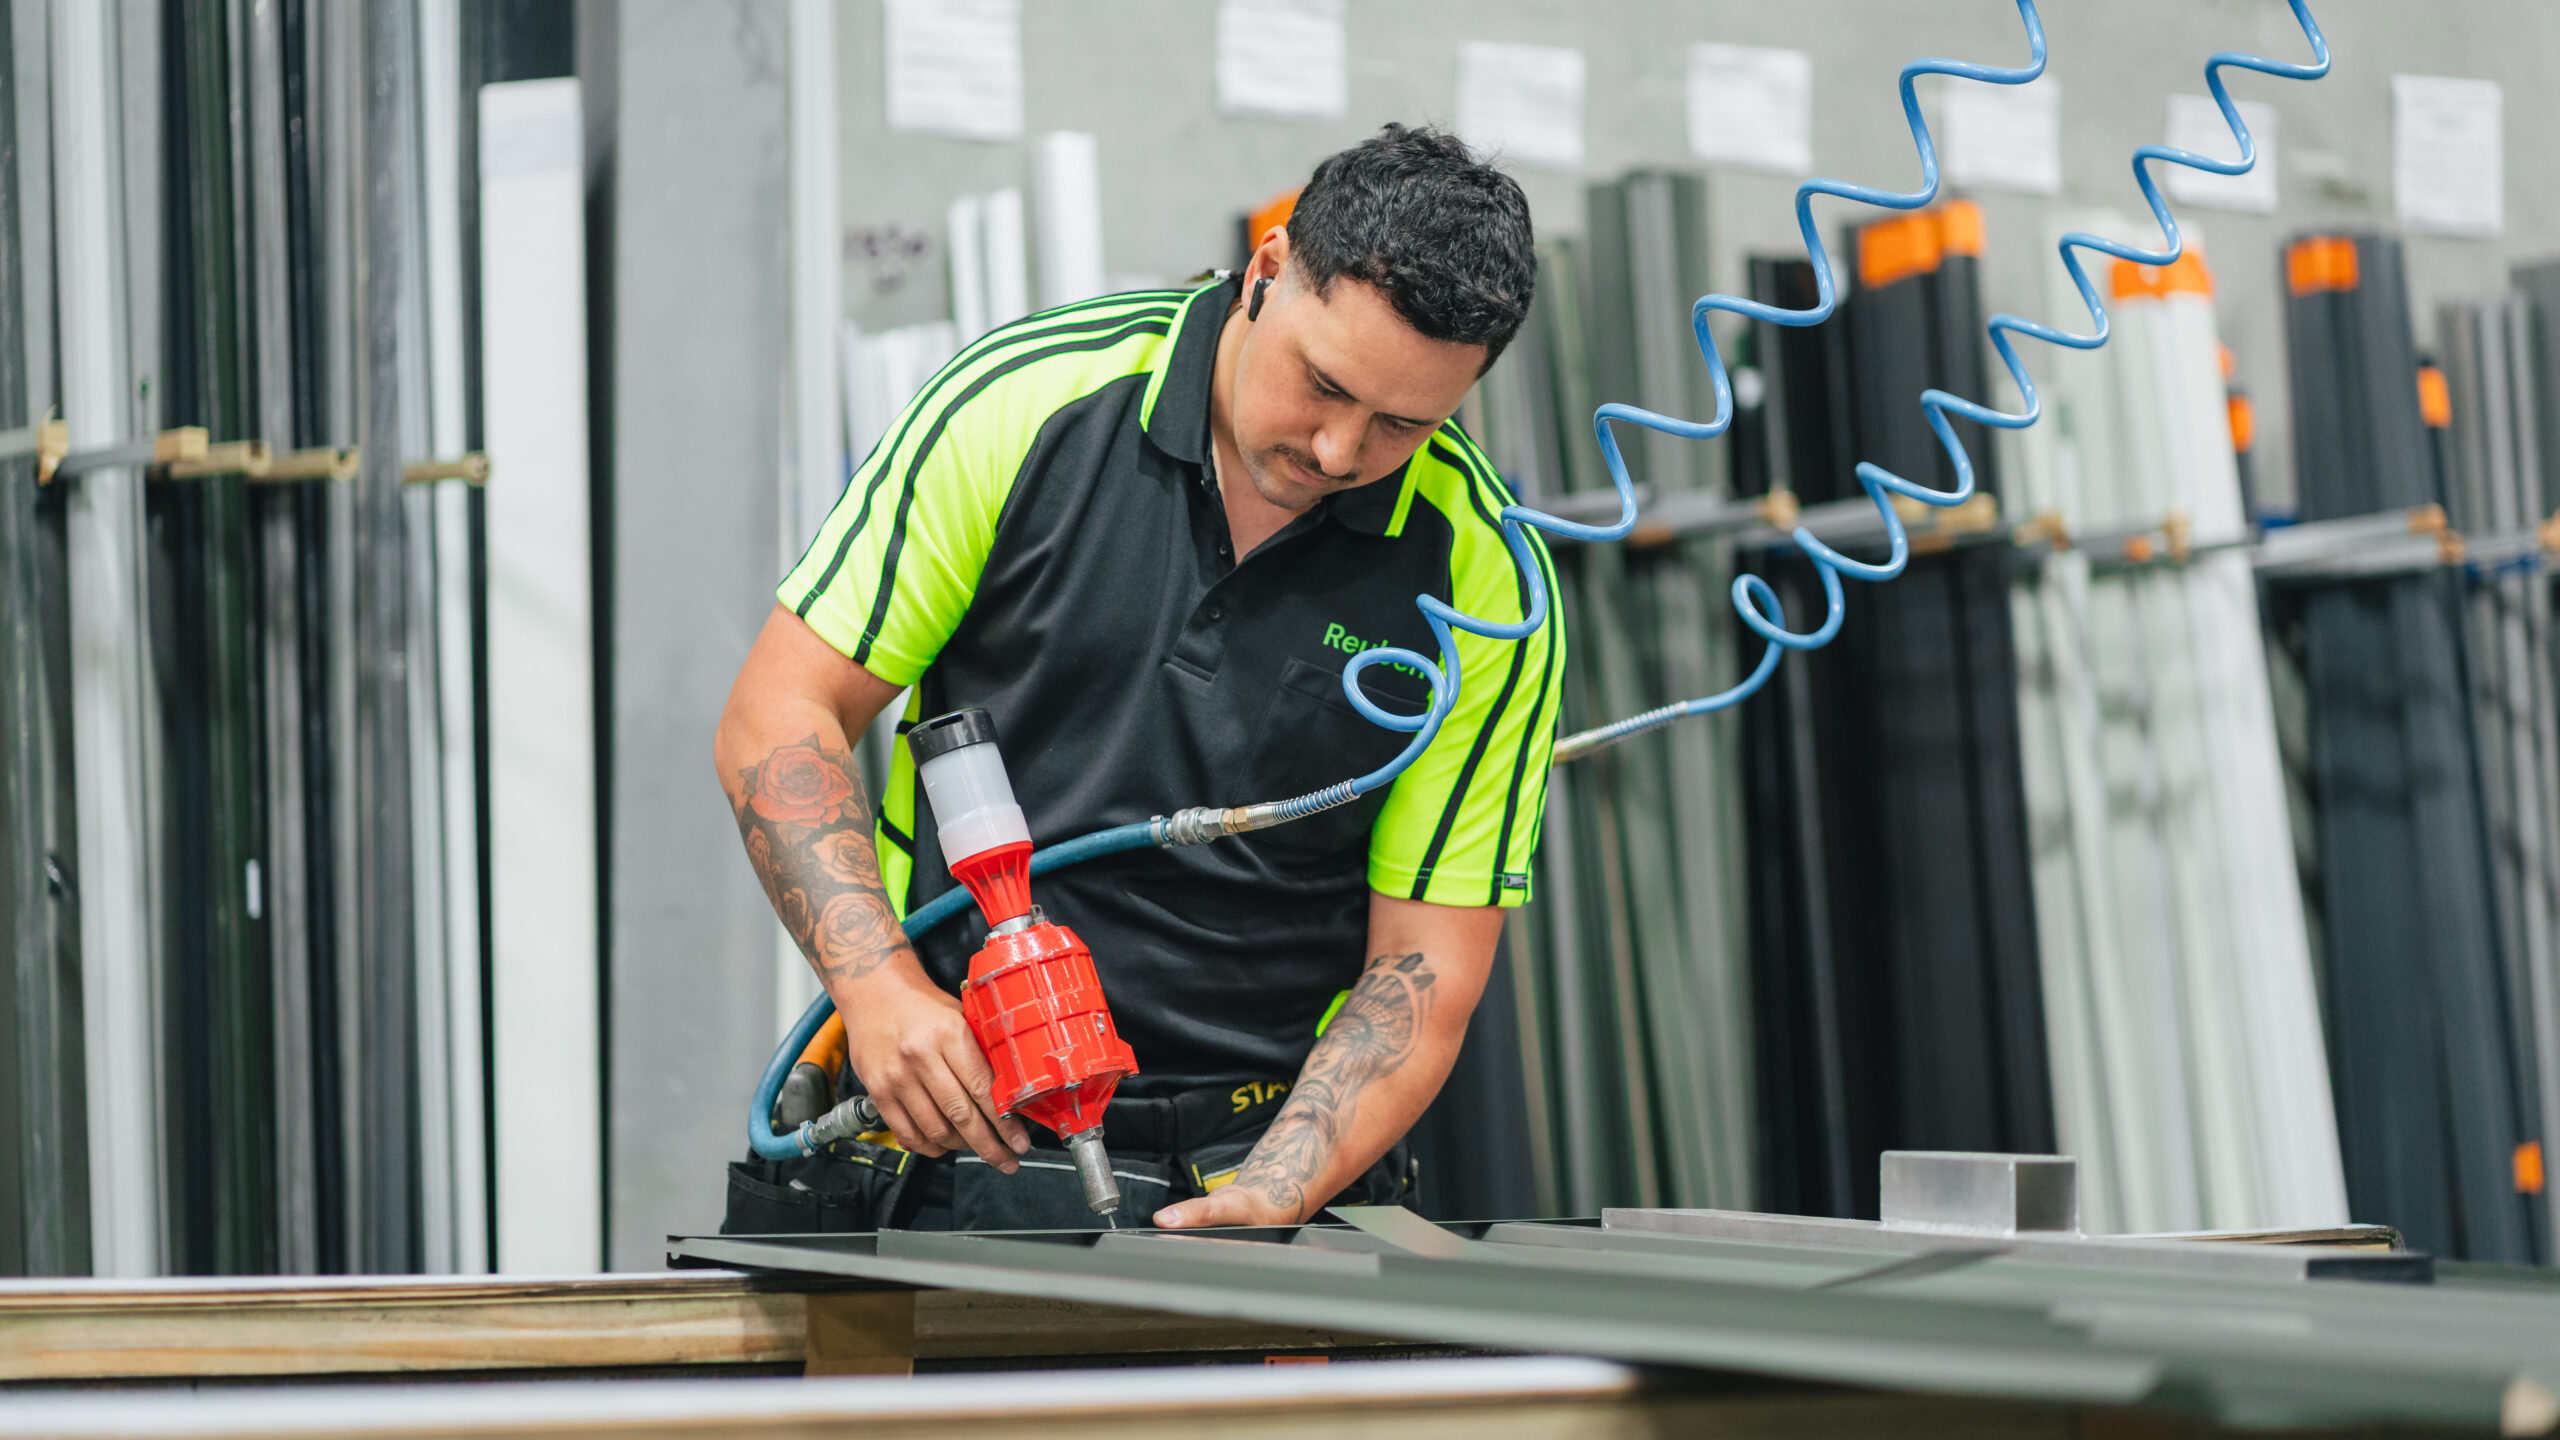
IT’S NEVER BEEN EASIER to assemble your shed
Prefer to put it together yourself? Scroll down this page for step-by-step instructions, or head to our video library for a full walkthrough of each stage of the build - from foundations through to the final fit-out.
If you'd rather leave it to the experts, we've got a network of trusted installation partners right across New Zealand. They'll come to you and assemble your shed on-site, so you can skip the tools and get straight to using the space.
WHAT YOU’LL NEED

Battery or Electric Drill

Riveter (provided)

Hammer

Tape Measure

Ladder

Non-slip Gloves

Covered
Footwear

Eye Protection
Follow these
Simple steps
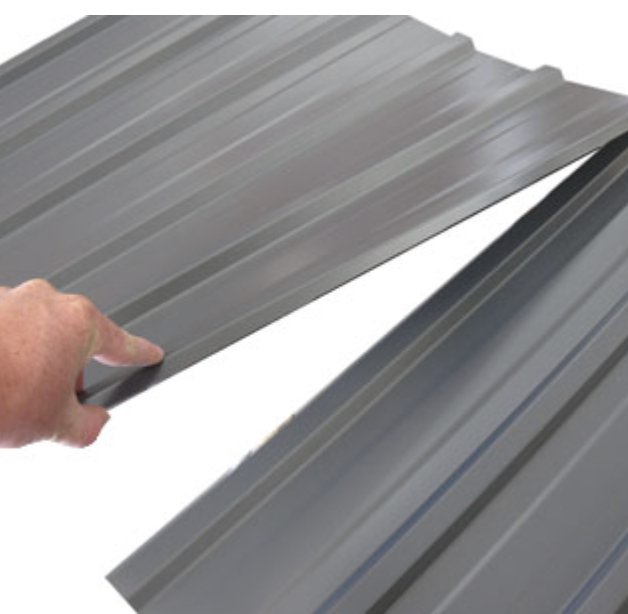
1. Overlap Sheets
2. Drill Rivet Join
3. Fit Channels
4. Fix Channels
5. Drill L Flashing
6. Join Corners
7. Join Corners
8. Fit Roof
9. Fix Roof
quick and easy
Assembly videos
Garden Master Sheds
Tools Required for Assembly
Garden Master Sheds
Back Wall
Garden Master Sheds
Door Brace
Other assembly Tips + Tricks
Assembly couldn't be easier! With just a battery drill, riveter, tape measure and ladder, most standard sheds go up in half a day to a full day. Every shed is designed to be DIY-friendly and comes with clear assembly instructions - though we strongly recommend our preferred installers to make sure it's built to spec and your warranty stays intact.
Need help with assembly?
Prefer to leave the assembly to the pros? Our installer network covers most of New Zealand. Check out our assembly partners to check what's available in your area and get in touch with them directly to book.